


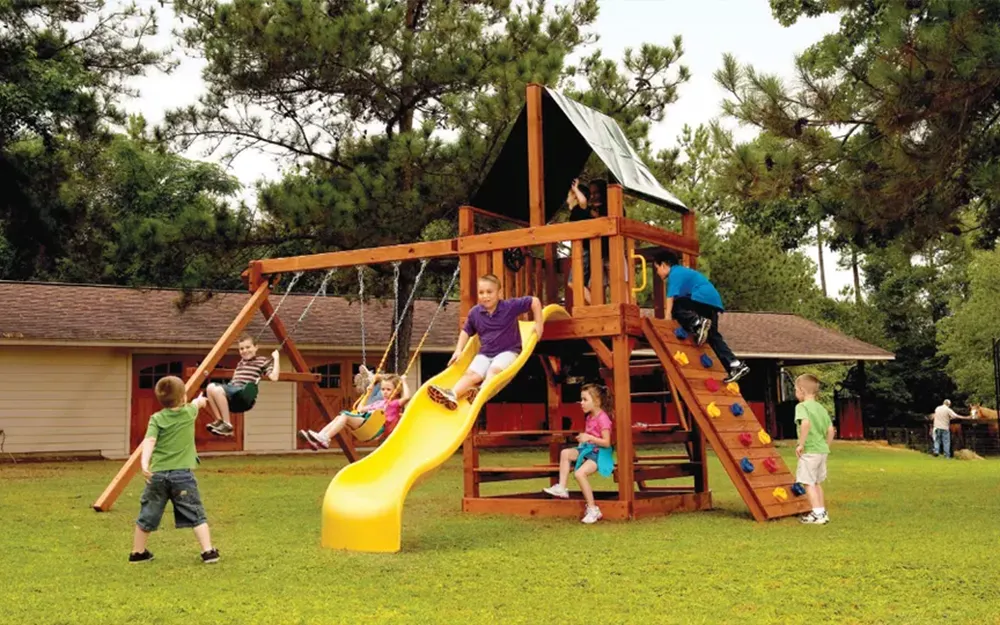
Ready to turn your yard into the ultimate play spot? Installing an outdoor slide is easier than you think—especially when it’s a sturdy Plastic slide. Let’s dive in!
- Site Selection & Prep
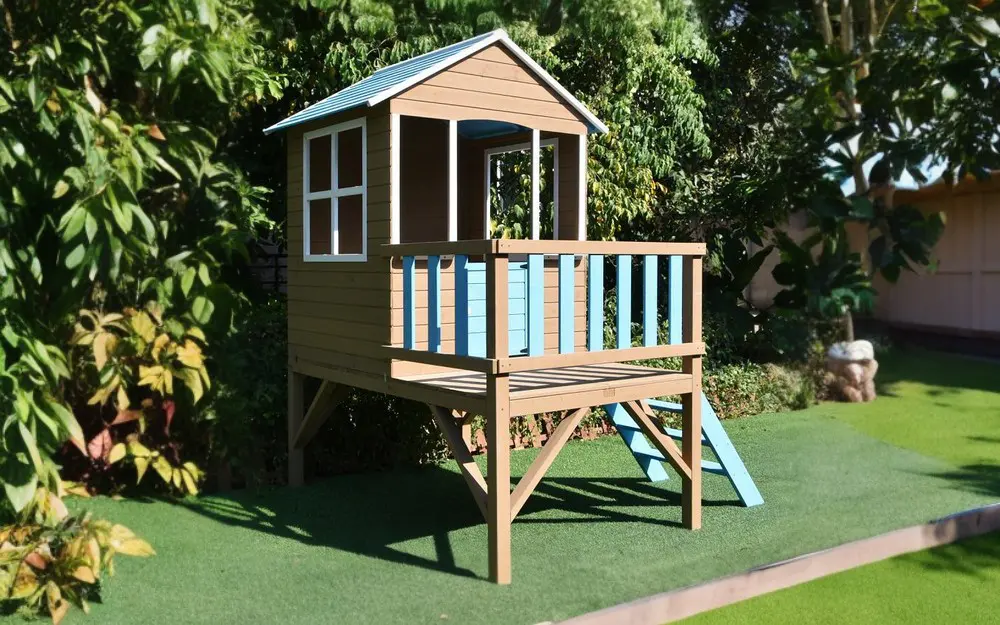
Choose a level, well‑drained spot at least 6 ft from fences or structures. Clear debris and mark a “use zone” twice the slide’s height. - Safety Surfacing
Lay impact‑absorbing material (rubber mulch, wood chips) under the footprint. For slides under 4 ft, use 6 in depth; for taller units, increase to 9 in. - Unpack & Inventory
Verify all slide components, brackets, and hardware. Inspect the kids slide for cracks or defects before assembly. - Mounting Base & Support
Attach the slide’s mounting plate to a sturdy platform or wood deck using lag bolts into joists. Add 2×4 undersupports beneath the rail to reinforce structure. - Anchoring
Drive ground stakes (12 in deep) at each slide leg. Secure with galvanized screws through anchor brackets to prevent shifting. - Assembly & Fastening
Pre‑drill pilot holes in plastic; tighten all bolts snugly without over‑torqueing. Use stainless hardware to resist rust. - Final Checks & Maintenance
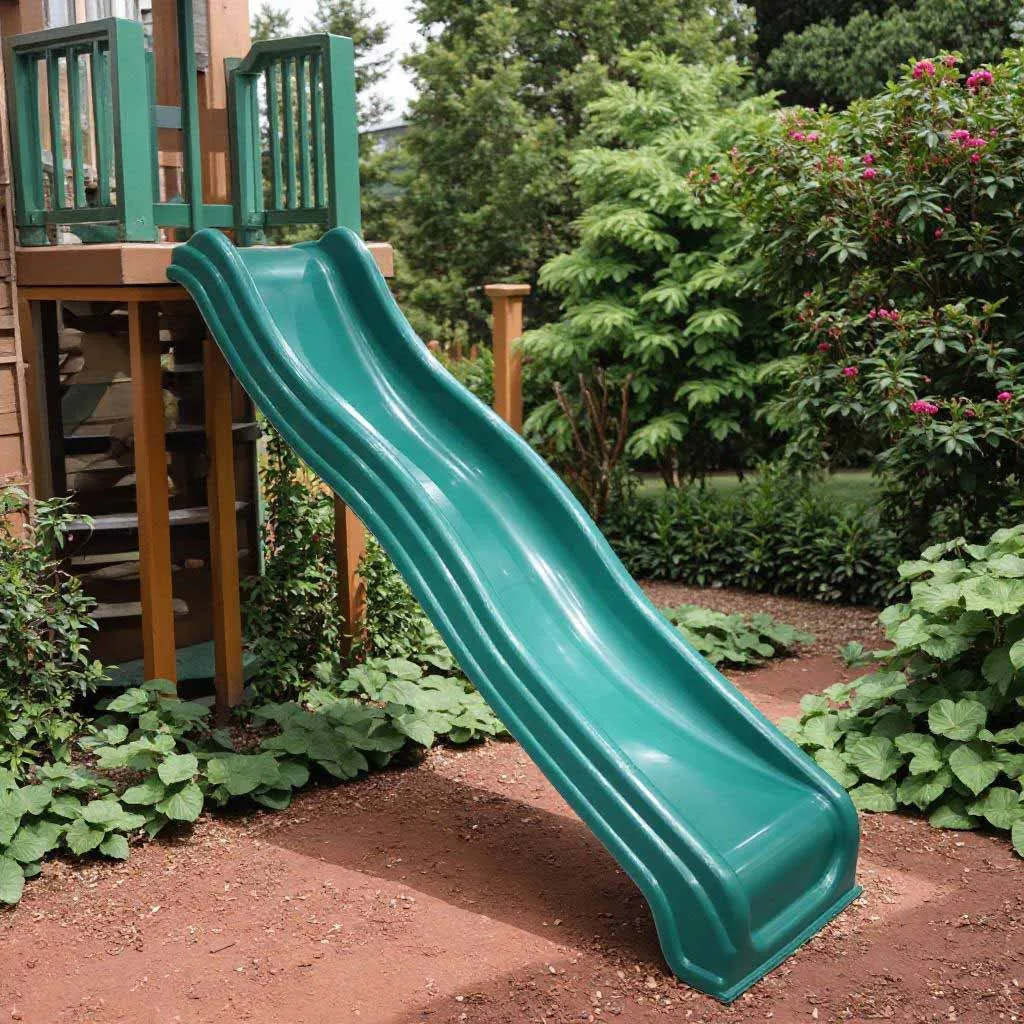
Confirm 24 in clearance on each side and 6 ft in front of slide exit. Smooth any sharp edges, tighten monthly, and inspect surfacing depth annually.
And voilà! Your Plastic slide is ready for endless kids slide fun outdoors. Enjoy the giggles!